Building Custom Street and Off-Road Vehicles


Wednesday, November 27, 2013

It continues

I have been working so much that I haven't been here in a while.  I wanted to have a Baja bug but I didn't have the money for the parts.  I did however get a deal on a roll of fiberglass from a boat store that was going out of business.  Here starts the fiberglass.  I am doing this from memory since I did this a while ago.

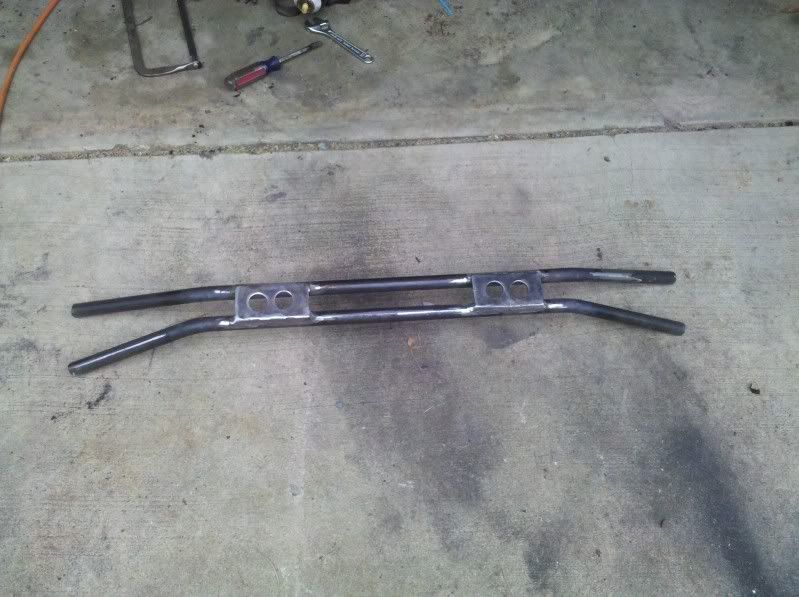
The parts car that I had purchased had a Baja kit on it.  The big problem with it is that the kit was for a Standard Beetle and not a Super Beetle, even though it was installed on a Super Beetle.  It barely fit on the parts car.  The rear fenders were fine since both cars are identical in the back.

In order to do this, I had to be creative.  I looked into changing the metal and reshaping the front end.  That would be a nightmare.  I then decided to cut it up into pieces.  I had nothing to lose but time.  I figured if it doesn't work then I would have to buy a kit.

Here it goes.  I sectioned out the entire hood.


I was not concerned with structural strength since this is just a plug to make a mold.  Once it was pieced together I had to make it look good.  so bondo and a lot of sanding.


That was good enough for a plug.  It then gets painted and coated with parting film to then make a mold.


This is the mold once done.  Now I can make as many hoods as I need.  If the hood gets damaged, I can make a new one.

Sunday, December 9, 2012

It has been a while since my last posts.  Uncle Sam called and gave me a trip to Kuwait.  Now that I am back, I can get back to everything. 

It is going to take me some time to get caught up with where the blog is and what I got done since the last time.  I did get some stuff done and I am hoping to get it posted soon. 

Sunday, April 24, 2011

Design and body work starts

I wanted to be sure that when I build this vehicle, I build it efficiently.  Not just with time constraints, but with a tight budget.  The body work is the most time consuming part for me.  I have no experience in body work with the exception of sheet metal work and welding.  I know how to do them, but have never done it on a car.  I have no idea how to do body work except that you don't want a lot of filler.  Filler is both your friend and your foe.

The idea of a Baja has always caught my eye.  My brother had a VW Beetle when we were in high school and I saw the Baja kit in JC Whitney catalogs.  I have already done part of the baja, but it was time for me to just get the whole care done.  I purchased a parts car a while ago.  I paid $150 for it and I got over $300 worth of parts not including the parts needed for the Baja.  Well the parts weren't all that was thought.  They were for a standard Beetle and I have a Super Beetle.  Not the same parts.  I guess I have to learn how to do fiberglass.  More books to read.  More research and more fun.


The old paint on parts of the car had to come off.  There were 4 coats of paint on this door.  That was too thick.  Other parts were only 1 or 2 coats.  Those parts just get sanding and finishing.  The car needs to be done soon.  I have other cars to get done.  I am working every spare minute I have.  The roof is dented and scratched bad.  The curves on the roof make it difficult to get the filler right.  You have to be sure that the contours match in multiple directions.  More to come soon.

Monday, April 4, 2011

Super Beetle front disc brake conversion

Everyone knows that the technology of brakes has improved tremendously since 1973 when this car was originally built.  I had some issues with the brakes and actually being able to stop.  The brakes would have to be pumped in order to be able to stop.  The could be adjusted and adjusted and would not solve the problem.  The braking force is mainly in the front brakes.  With weight transfers, the front brakes do 80% of the braking depending on weight distribution.  Back to the internet.  I don't have any pics of this.  I guess I should have done it.  I purchased the Empi front brake conversion kit and figured that I should replace the master cylinder at the same time since the brakes had to be bled anyway.  The rear brakes may be upgraded later.  The Empi kit didn't come with any instructions on installation.  The one thing to make sure of is that the caliper is centered on the rotor.  This was accomplished with the provided washers that I initially couldn't figure out where they went.

Time for the test drive.  I didn't have to drive any further than down the driveway and I almost put myself through the windshield.  I guess they worked.  It is probably one of the most important upgrade that was done.  The rear brakes may be done over the summer.  That depends on how much money I have after vacation.

Friday, April 1, 2011

Suspension

I was driving with my daughter and felt a nasty wobble of death.  The front end shimmy that plagues the early Super Beetles got to mine.  I had already changed the bushings in the front end so I took a good look at the front suspension.  I pushed down on the front and it didn't come back up into place.  Time for front struts.  I searched on the internet and found out that the early 1973 and later 1973 have different front struts.  There was an upgrade mid year.  Since mine was an early 73, I had the older suspension and not the upgrade.  I ordered struts and took out the strut towers.  My local shop replaced the struts into the towers for a lot less than having them do the whole job.  He charged me $40.00.  Since I have another vehicle I can drive, I wasn't worried about it taking a few days for him to get to them.  When I installed the towers, the car handled great.  No more wobble.  Now for the upgrade build on the front.

The forces of the yaw on the front suspension are transmitted into the body and actually twists the front end of the vehicle when in a turn.  In order to transfer the energy to the other wheel and direct the forces to the inside wheel to increase gripping surface and weight distribution in the front, you need a bar that transfers the force.  This bar is called a strut support bar.  This force transfer assists in cornering.  It makes the inside front wheel have more weight on it and makes for a more stable turn.  This does not take the place of the sway bar.  It makes it work more efficiently.  I priced them on the internet and they were out of the range that I wanted to spend.  Time to go shopping.  I went to the store and got some pipe.  Since I didn't have a tubing bender that will bend small tube, I went with the pipe.  The amount of force generated is not too much for the pipe.  I knew what I wanted the end product to look like, so I just had to make it.  I bent the pipe with a torch and a vice, making sure that the bends were straight.  I bent the first pipe and then placed it on the garage floor and traced it with a marker on the floor.  When that was done, I had fun making the second.  It took a lot of measuring to get the second pipe correct.


Now that I had the shape, I had to make a cardboard template for the tops of the strut towers.  I used 1/8" plate for the tower plates and then welded it in place.  I remembered to put grease on the bolts so that no weld splatter got stuck on the bolts.


Some grinding and some body filler and then paint and it was done.
I didn't take a pic of it painted.

Wednesday, March 23, 2011

Upgrade starts

I started the upgrades with getting the vehicle to perform the way I wanted it to.  Engine upgrades can be expensive, not only in initial cost of the parts, but if you go overboard, then fuel economy can suffer.  I didn't want to build a big engine.  I can go fast enough on the highway and it accelerates OK.  It started with the carburetors.  My son and I went to a VW aircooled show in North Carolina and found the swap meet.  I found a pair of Weber DCNF 40mm carburetors.  I wanted carbs that I could have one barrell for each cylinder so that I can tune them for each cylinder.  The original carb was OK, but I wanted the performance from dual carbs.  Well, it was very typical of what happens when I go to upgrade.  Nothing fit in easily.  The cooling fan shroud needed to be cut in order for the carbs to fit.


After that was all cut and put into place I had another problem.  The air cleaner mount plate wouldn't fit.  It was an easy fix, but it involved making new base plates for the filters.  After that was done, I had to make the linkage.


This is my own design that was made from tubing, square rod and carb linkage ends.  Hard to get good pics.

Monday, March 21, 2011

1974 Super Beetle Project...in the beginning

My son is the one who got me started with this whole VW thing.  I wanted to get an economical car to drive back and forth to work.  I wanted something different.  I love old cars.  My son was talking about getting a beetle.  I ended up doing some research and getting onto a chat room called "the samba"  It is a VW chat room.  I started looking at the Baja bugs on the pics and reading about the builds.  Well, I am in the wrong part of the country to make a true Baja Bug and using it in the desert.  But I could build a vehicle that can zip down the gravel roads and go drive on the beach in the Outer Banks of North Carolina.  As far as off road, I have a Jeep for that.  I searched on Craigs list and found this beauty.  It was a 1973 Super Beetle.  I liked the Super Beetle due to it having better handling characteristics than a Standard Beetle.  The super beetle suspension is not suited for the punishment of hard off road driving.  Since it is for street, I laid down the cash for the car and put it on the trailer. This is what I brought home.


The first week was fun.  I ended up spending a lot more money than I thought to get it on the road.  The car needed a lot of welding.  I had to make a section of floor pan and a new carburetor. I traded some extra parts for the carburetor.  It took some tuning and some cleaning, but I got it running.  Now I needed a windshield.  Back to craigs list.  I found a 73 parts car near the beach.  The car had a standard beetle Baja kit on it and a good windshield.  The title matched the body and I bought it sight unseen.  for $150.00 it was a good buy.  I brought it home and took out all the glass.  Then I started to take the car apart.  I kept anything that I needed and sold some parts.  Once it was stripped, I cut up the rotted out body and brought it to the scrap yard.  I kept the pan just in case I wanted to make a trike or something later.

I ended up driving it for a while and enjoyed every minute of it. Then one day, I blew the engine.  I got another engine from my son in exchange for building him an engine for his bug.  I figured it was fair.  His car wasn't on the road yet and the engine was done.  Now it is time to make the Baja.  First things first.  What is a Baja.  A Baja is an air cooled VW Beetle that has high ground clearance and light weight.  They use fiberglass fenders or they cut away the steel fenders for bigger tires and longer suspension travel.  So I got out the sawzall and started cutting.  The guys in my VW club were cringing when I started cutting.  I wish I had a picture of them.  Some of them are "purists" that don't approve of anything but original.  I didn't get any pics because we had limited time to get the car done.  Once we were done, I didn't even get to drive it.  My son hopped in and went to the beach with his girlfriend.  He told me that it handled great on the beach and only got stuck twice.  That isn't bad considering that he never drove in the sand before with 4wd and he was doing it with 2wd.

Below is a pic of him on the beach.

Now it is time for the upgrades.  That was just the beginning of a fun process.